EN

3D Visual

Visual

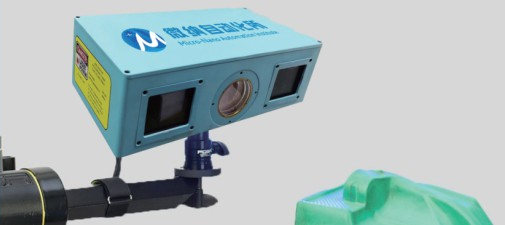
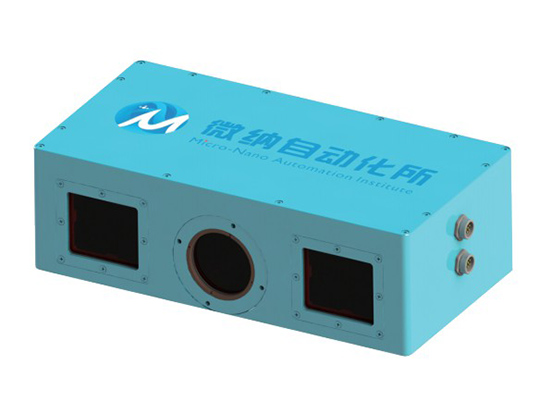
Industrial blue light surface scanning three-dimensional measuring instrument
 
Innovision 3D-A2000 series adopt multi-frequency heterodyne technology and is an area scanning 3D camera specially designed to obtain high-resolution 3D point clouds. High resolution 3D point clouds are equipped with the industry's advanced innovision 3D vision tools, which can provide reliable and accurate solutions for applications such as assembly verification, online measurement and robot guidance. 3D-A2000 can provide a variety of vision and measurement ranges, and can adapt to various applications in the automotive, consumer electronics and etc.

Product characteristics
 
· Short scanning time: single scanning time is less than 0.2 seconds
· High measurement accuracy: 8 micron measurement accuracy, rich details
· High stability: there are no excessive requirements for workpiece size, structural complexity, surface material and texture, and the overall hardware system has good mechanical and thermal stability
· Strong adaptability: it can automatically optimize system parameters for temperature, vibration and other influencing factors in complex production environment to reduce the impact of adverse factors on measurement results。


technical parameter


Overall dimension 331*171*105mm
Camera working distance 200mm-800mm
Z direction accuracy 2μm~10μm
10. Y direction accuracy 0.02mm~0.06mm
FOV 50mm~600mm
IP67Degree of protection /


Functional features and advantages


·High speed acquisition of more than 1.5 million 3D data points can detect fine features on parts
 
·High dynamic range (HDR) mode captures high contrast scenes
 
·Factory calibration can provide results in actual units
 
·Rugged IP67 enclosure provides protection in harsh plant environments
 

·Provide accurate and repeatable 3D visual inspection results
 
·3d-a2000 can provide high-resolution 3D data composed of more than 1.5 million 3D data points
Point cloud image. These high-resolution images work with innovision
 
·3D image processing toolset enables 3d-a2000 to solve the problems from assembly verification toVarious application scenarios of line measurement and robot guidance.


technical parameter


· Overall dimension:331*171*105mm
 
· Camera working distance:200mm-800mm
 
· Z direction accuracy:2um~10um
 
· 10. Y direction accuracy:0.02mm~0.06mm
 
· FOV:50mm~600mm
 
· IP67Degree of protection


Features and advantages


·High speed acquisition of more than 1.5 million 3D data points can detect fine features on parts
 
·High dynamic range (HDR) mode captures high contrast scenes
 
·Factory calibration can provide results in actual units
 
·Rugged IP67 enclosure provides protection in harsh plant environments


·Provide accurate and repeatable 3D visual inspection results
 
·3d-a2000 can provide high-resolution 3D point cloud images composed of more than 1.5 million 3D data points. These high-resolution images work with innovision
 
·3D image processing toolset enables 3d-a2000 to solve various application scenarios from assembly verification to on-line measurement and robot guidance.